Hexacore build 2013 finished
I’ve been gathering parts for the last few weeks and I’ve finally got all of it. Here are the main components of my hexacore build for 2013.
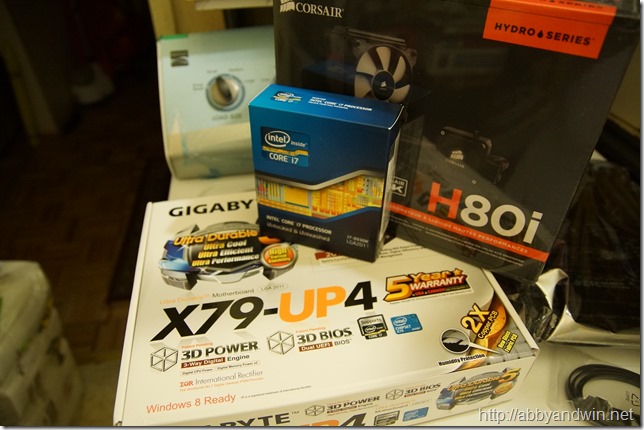
- Intel Core i7-3930K
- Gigabyte GA-X79-UP4 motherboard
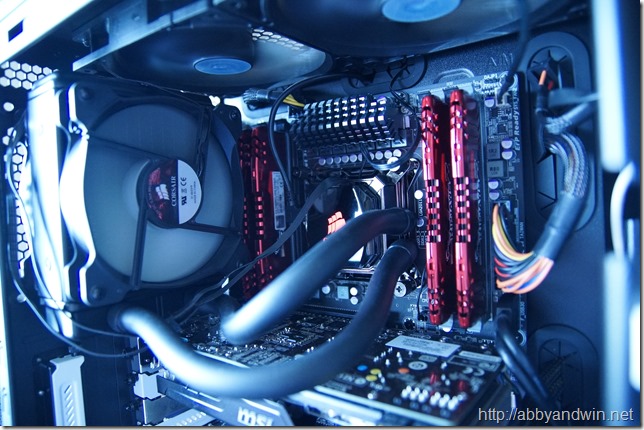
- Corsair H80i CPU Cooler
- G.Skill Ripjaws Z Series 32GB (4x8G) DDR3-1866Mhz
- MSI GeForce GTX 660 Ti 2GB OC Edition video card
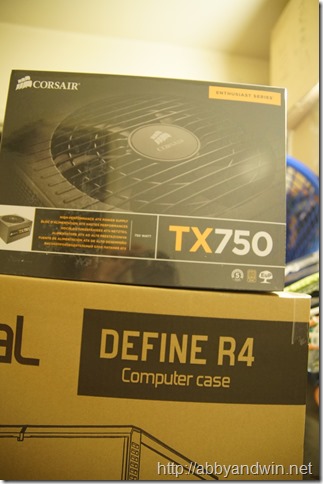
- Fractal Design Define R4 (Black Pearl) tower
- Corsair TX750 v2 power supply
You can check out my PCPartPicker page for more details of the parts.
I opted for this Gigabyte board to keep the cost low. It is a mid-range motherboard and for the its features and price, it’s great. I originally was looking at the Asus Sabertooth but I didn’t plan to overclock much so I figured the cost difference wasn’t worth it.
If I could go back and decide on a different water cooler I would. The H80i is okay and keeps my CPU temperatures around the high 30°C on idle – running at 3.5GHz. The noise level is fine but noticeable unlike the H60 I have installed in my 2600K – which is near silent on idle. But when I have the computer doing heavy task, this cooler is like a jet engine. I should’ve learned my lesson when I used the H70 cooler with an i7 960 a few years ago. I wonder if the H100 is any better in terms of sound when cooling. One of these days I’ll swap the H60 and H80i and compare the performance and sound. Other than that, I guess it does its job.
I chose the Define R4 because a friend of mine (Jeff) already has it and recommended it. There were plenty of good reviews online as well. The case itself is heavy and well built. No rattling, no vibrations. There are dust filters installed on the bottom, front and top where fans can be mounted. The cable management space on the opposite side is good though the panel itself is not curved (like the Corsair 600T) to give some more extra room. The front panel is held by a magnet. There are USB 2.0 and 3.0 ports on the front. It comes with 2x 140mm fans which are preinstalled in the front and back of the case. I moved the back one to the front.
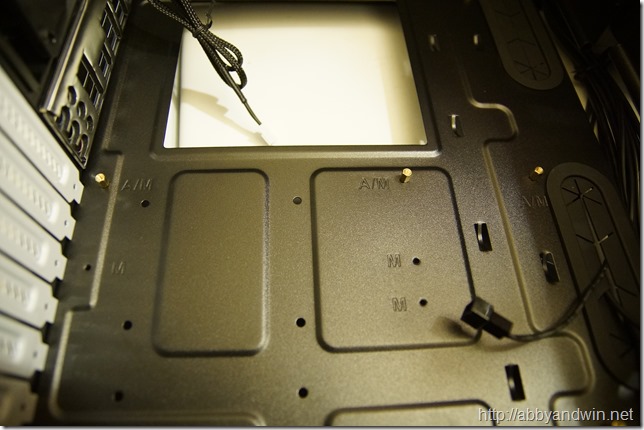
One of the things I liked about the R4 case is the label for the different size motherboard it supports. As you can see, it has “A” for ATX and “M” for Micro-ATX. I don’t have to keep lining up the holes on the motherboard just to figure out which hole needs the standoff screws.

Here’s a pic before I installed the components. As you can see, it can hold up to 8 2.5” or 3.5” hard drives. All trays have anti-vibration mounts. Each tray can be pulled out to help with installation. The cage that holds 5 (upper) can be removed to give you room for mounting radiators for water cooling solution. This cage can also be moved 90° so that the SATA ports of the hard drives are facing the back of the case (towards the video card) – if this is your preference. The cage that holds 3 (lower) can be removed or moved closer, towards the bottom-mounted power supply. In this position, you cannot have the upper cage mounted above the lower cage.
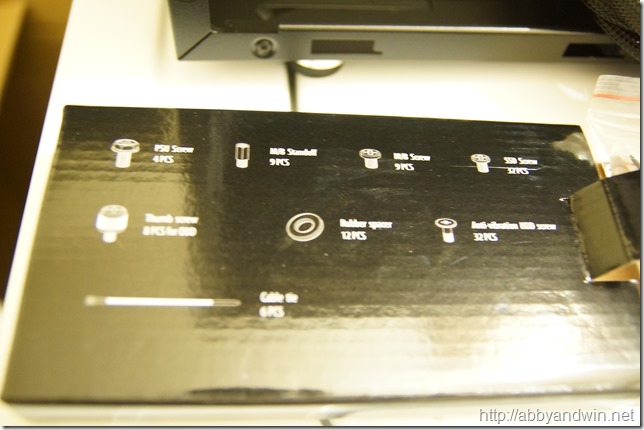
Another thing I loved about the R4 case is the different screws come individually packed in baggies and are stored inside this box. On this box is a diagram of each different screws where it shows quantity and what they are used for. No more guessing.
My only complain about this tower is it wasn’t as tool-less as I’d hope for.
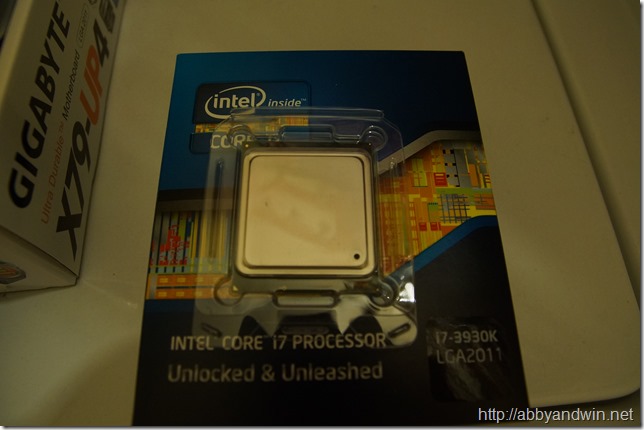
This processor is the i7-3930K. It is a hexacore processor meaning it has 6 cores – with hyper-threading enabled it has 12 threads. It is part of the Sandy Bridge line up, but the enthusiast. I got a great deal on it otherwise I would’ve waited for what Ivy Bridge has to offer or even Haswell. But for the price, I couldn’t pass it up.

I’ve always had great experiences with G.Skill ram so for this build I continued to use them. I never had any of them fail or have had any incompatibility issues. The 3930K processor uses the X79 platform which supports quad-channeling. For this build I went with the Z-series for a total of 32GB (4x8GB) DDR3-1866Mhz.

I’ve always bought eVGA video cards ever since I switched to nVidia. But for this build I went with MSI. It has very good ratings and reviews. I also went with a 660 Ti rather than a 670 (originally planned). The 660 Ti doesn’t show much increased performance compared to my older eVGA 470SC (installed in my 2600K) but I wanted to keep the cost low. It’s not to say the card doesn’t perform great. It can still play all my games at high/ultra settings. Besides, I only plan to use 2 monitors max. If ever there comes a time when I will use more than 2 monitors, then I’ll consider an upgrade.
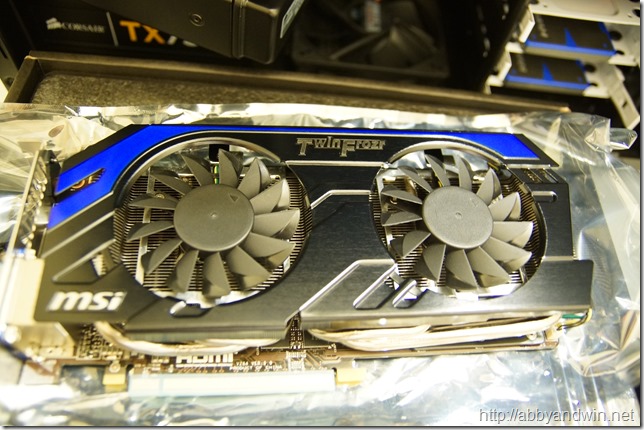
The above pic shows how the fan design is on this card. I’m used to the shroud look since that’s how the eVGA cards come in. I have yet to push it to the limit but the fans aren’t too loud. The Corsair H80i are a lot louder – by far. I’ve noticed it run around 40°C. I haven’t really taken note on its temperatures when I have it working hard.
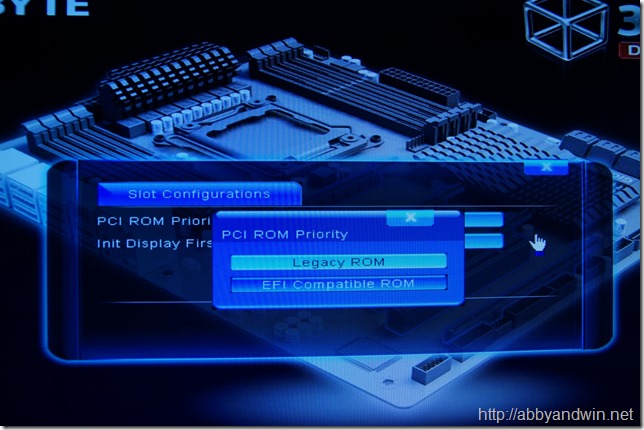
I ran into an issue trying to use a Rosewill RC-507 firewire card (PCI). Windows recognized the card fine but I would get a power usage error in the device manager. Devices plugged into it are not recognize. I played around with the bios and found the above setting. Make sure to use legacy if you are planning to use older cards on EFI boards.
Overall, this build is great. It’s a little pricey compared to the general Intel i5 and i7 builds but so far from what I’ve done, the performance increase is worth the additional cost. I mostly capture old videos to AVI, do some editing, then render/encode it to MP4 using H.264. I can see the difference with the added 2 cores. I also play video games but performance isn’t much different. I could however render video and play video games at the same time – I actually could do that on my 2600K PC but it wasn’t all too pleasant. Now the experience is much better.
So here’s the finished build after installing the components.


I still have plenty of room for more hard drives and enough free SATA ports. I also have a Dell PERC 5i RAID card lying around if needed. The power supply will be able to handle more. I still want to run a few virtual machines so that could be what I’ll use more hard drives for. Here’s an overview video I posted on Youtube.
One Comment