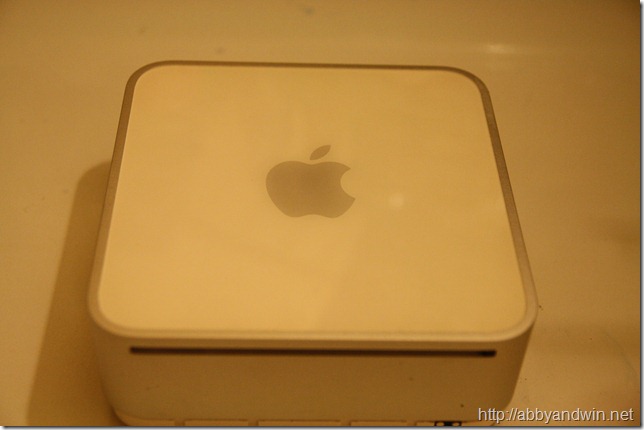
Opening an Apple Mac Mini Mid 2007 MB138LL/A
I wanted to upgrade my old Mac Mini Mid 2007 MB138LL/A. Here’s what I did. Remember that I will not be responsible for any damage to your equipment.
With most Apple computers, opening them can be trivial. The trick to opening this one is using a putty knife. There are no screws holding the case to the computer/motherboard.
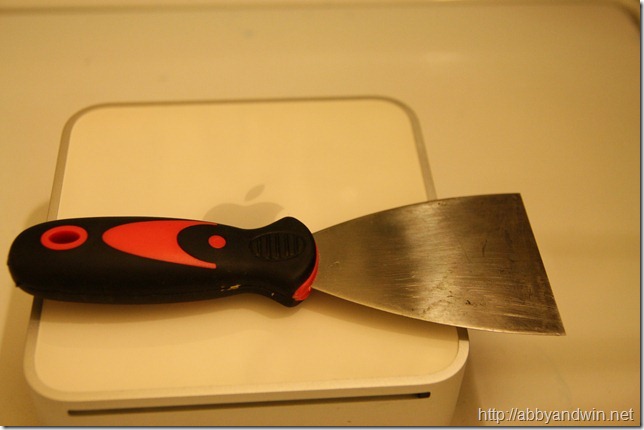
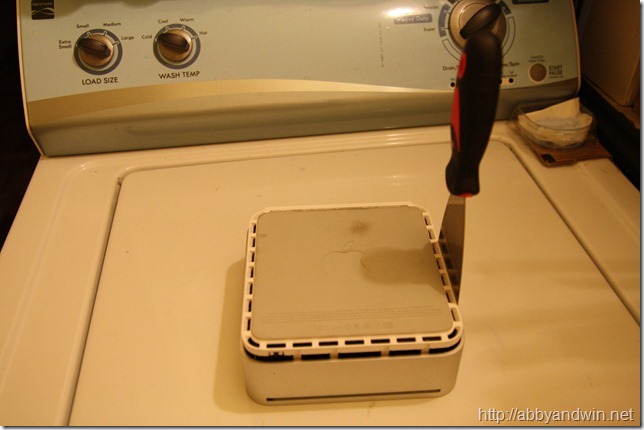
There shouldn’t be any hidden wires connecting the case and the computer itself. Once you have the case off, here’s what you’ll see.
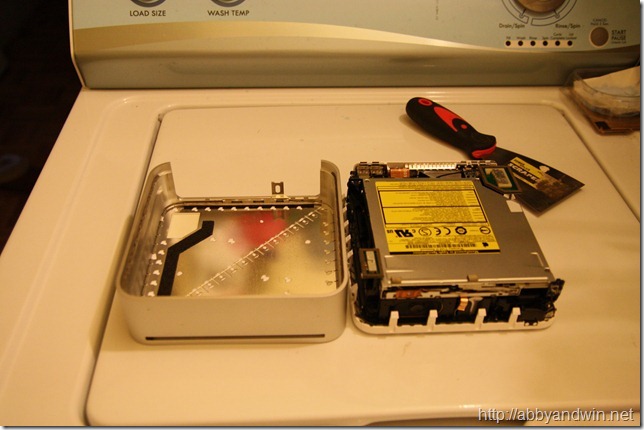
You will notice that the DVDRW drive is at the top, while the hard drive is right underneath. At this point, you’ll probably not see the ram. It’s underneath the hard drive. You have to remove some screws to get access to these components. You should note that there is a wire that needs to be disconnected before removing the screws.
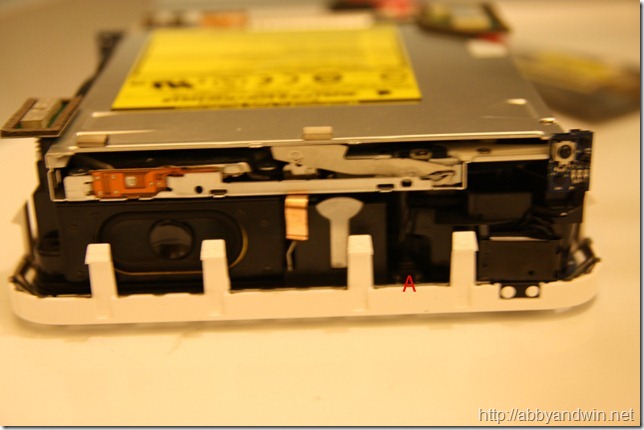
In the front view of the above picture, please note A. This is the wire that needs to be disconnected.
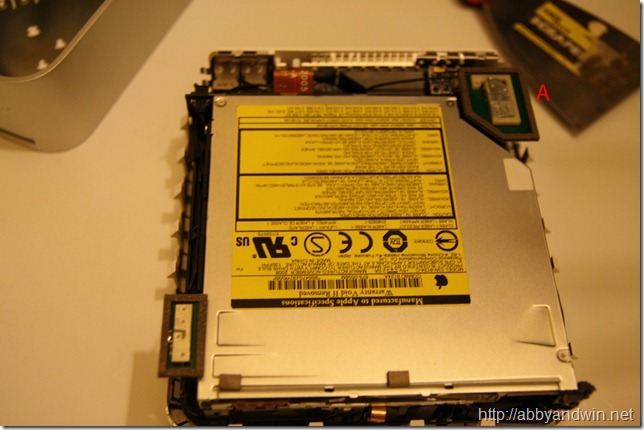
You will need to unclip the piece marked A to gain access to one of the screws.
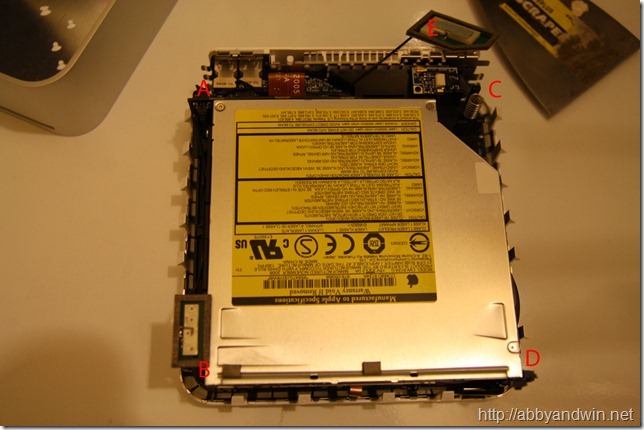
The picture above shows you where each of the 4 screws are. They are black with one of them being longer than the other 3. The labels A, B, C, and D shows where the screws are located. D is the longest of the 4 screws. E just shows you I have removed the component to get access to screw C.
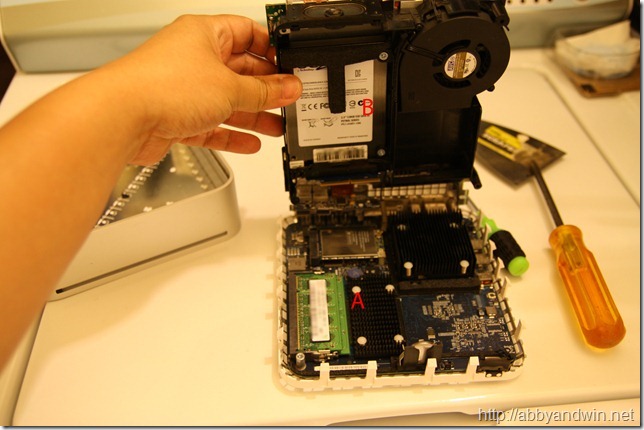
Keep in mind, there is a ribbon connecting the mid layer you are about to lift and the motherboard. This is to the back of the Mac Mini. The SATA ports are joined to the motherboard by a card. Slowly lift up keeping the 2 components I just mentioned. Figure A is the ram location. You can install 2x DDR2 667. Up to 2GB (2x 1GB) are supported but 3GB can be supported according to Wikipedia. These are not desktop size ram, they are laptop size – SODIMM. Figure B is the hard drive. It is a 2.5” size. According to Wikipedia, it’s a SATA2 port that supports up to 3Gbps but it has been throttled down to 1.5Gbps.
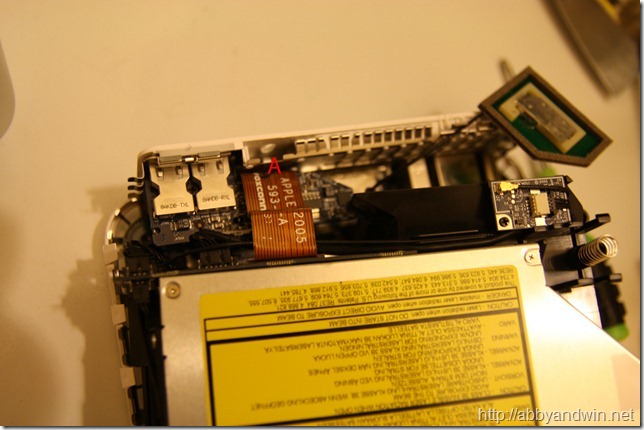
Figure A is the ribbon I was referring to above. You can remove it but remove the end that’s attached behind the DVDRW drive. It is a little pain to connect it back but it will make moving things around easier. It’s up to you but check out how it’s connected first so you know how to put it back later.
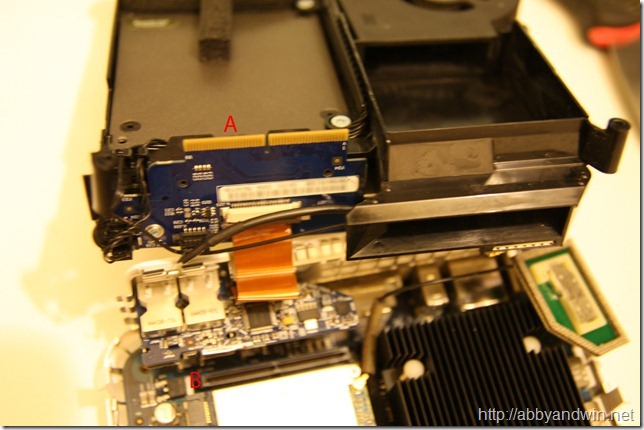
Above is a picture with a closer look of the SATA card that connects the hard drive and optical drive to the motherboard. Figure A connects to Figure B. So be aware of that when lifting the middle piece off the motherboard. You should lift up.
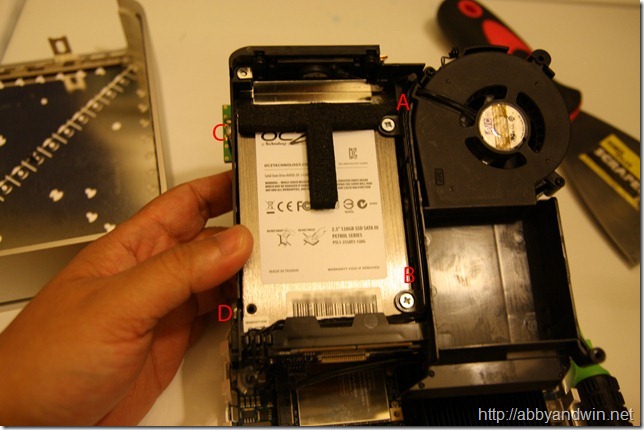
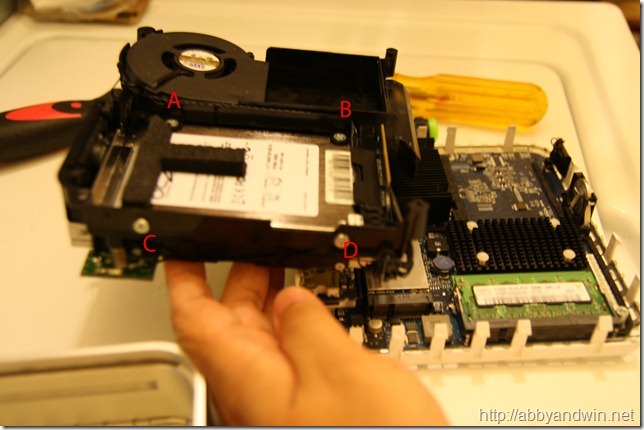
The 2 pictures above I labeled where the 4 screws are located to remove the hard drive. It’s fairly easy to remove from the SATA connection after the screws have been removed but putting the new hard drive can be more of a challenge. There’s a gap between the hard drive and DVDRW drive so you can’t rest the hard drive on the optical drive while connecting it to the SATA port.
If you’ve ever opened up a Macbook Pro or other laptops, you will notice the ram is place in a similar fashion. There are 2 clips on the side. Once you unclip the ram, it will pop up. The ram chips are stacked on top of each other, with their own clips.
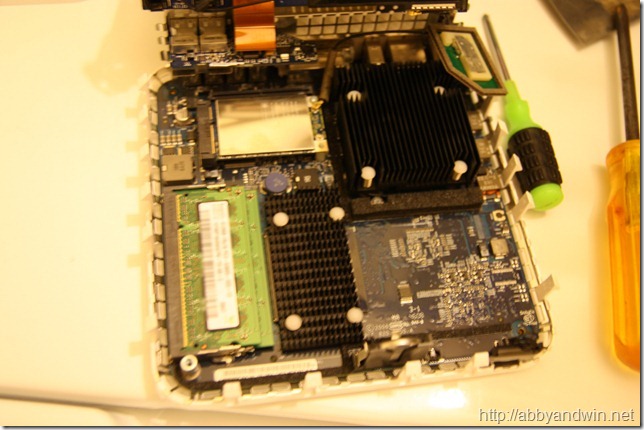
Above is another view of the motherboard.
That should cover how to replace the hard drive and ram for the Mac Mini. Before putting the case back, I would suggest turning it on and ensuring your new components are recognize. Just be careful when you have it running to not touch any of the components as you may damage it. Apple may have nice designs but the price of it is the difficulty of upgrading.

One Comment